virt-install
Creates a new virtual machine in libvirt and starts the installation, from an installer, an ISO file or a ready-made image.
Syntax
virt-install --name NAME --memory MiB --vcpus N --disk SPEC --osinfo OS SOURCE [OPTIONS]
Options
| Option | Description |
|---|---|
--name |
Name of the VM |
--memory, --vcpus |
RAM in MiB and number of virtual CPUs |
--disk size=20 |
New disk image with 20 GB in the default pool (or path=FILE) |
--osinfo debian13 |
Operating system, for suitable defaults (old name --os-variant) |
--location URL |
Network installer of a distribution |
--cdrom FILE.iso |
Install from an ISO file |
--import |
No installation: boot the existing image right away |
--network bridge=br0 |
Connect to a bridge instead of the NAT network default |
--graphics none |
No graphics; with --extra-args console=ttyS0 the installer runs in the terminal |
--noautoconsole |
Don't open the console after creating the VM |
virt-install --osinfo list shows all known operating system names.
Examples
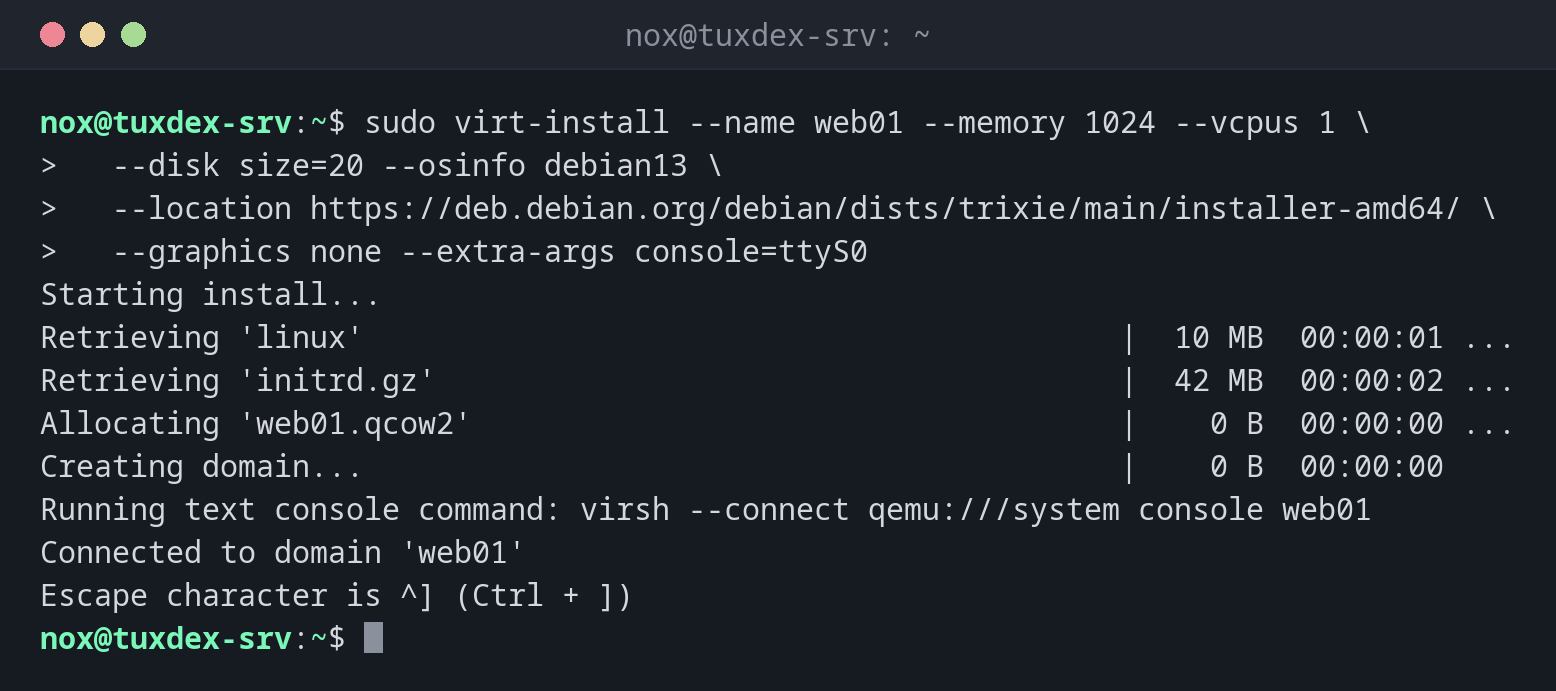
Install Debian 13 over the network, in the terminal:
sudo virt-install --name web01 --memory 1024 --vcpus 1 \
  --disk size=20 --osinfo debian13 \
  --location https://deb.debian.org/debian/dists/trixie/main/installer-amd64/ \
  --graphics none --extra-args console=ttyS0
Starting install...
Retrieving 'linux'                                          |  10 MB  00:00:01 ...
Retrieving 'initrd.gz'                                      |  42 MB  00:00:02 ...
Allocating 'web01.qcow2'                                    |    0 B  00:00:00 ...
Creating domain...                                          |    0 B  00:00:00
Running text console command: virsh --connect qemu:///system console web01
Connected to domain 'web01'
Escape character is ^] (Ctrl + ])
The Debian installer then runs in the terminal. After the installation the VM reboots and is listed in virsh list.
Start a VM from a cloud image, without installation:
sudo virt-install --name db01 --memory 1024 --vcpus 1 \
  --disk /var/lib/libvirt/images/db01.qcow2 --import --osinfo debian13 \
  --cloud-init root-ssh-key=/home/nox/.ssh/id_ed25519.pub --noautoconsole
Starting install...
Creating domain...                                          |    0 B  00:00:00
Domain creation completed.
Install from an ISO file into the bridge network:
sudo virt-install --name test --memory 1024 --vcpus 1 \
  --disk size=10 --osinfo ubuntu24.04 --network bridge=br0 \
  --cdrom /var/lib/libvirt/images/ubuntu-24.04-live-server-amd64.iso \
  --graphics vnc,listen=127.0.0.1 --noautoconsole
Starting install...
Allocating 'test.qcow2'                                     |    0 B  00:00:00 ...
Creating domain...                                          |    0 B  00:00:00
Domain is still running. Installation may be in progress.
You can reconnect to the console to complete the installation process.
The installer has a graphical interface here. Reach it through an SSH tunnel: ssh -L 5900:127.0.0.1:5900 nox@tuxdex-srv, then connect a VNC viewer to localhost:5900.
Without an operating system name:
sudo virt-install --name test2 --memory 1024 --disk size=10 --cdrom /var/lib/libvirt/images/rescue.iso 2>&1 | head -3
ERROR
--os-variant/--osinfo OS name is required, but no value was
set or detected.
Add --osinfo with a name from virt-install --osinfo list. For unknown systems there are generic names like linux2024.
When do I need it?
- To set up a new VM on a server without a graphical interface
- To create VMs in a script or with Ansible, always with the same settings
- To start a VM from a cloud image in seconds, without an installer
Cloud images save the installation
Distributions offer ready-made qcow2 images (for example debian-13-genericcloud-amd64.qcow2).
Copy one, enlarge it with qemu-img resize and start it with --import
and --cloud-init root-ssh-key=~/.ssh/id_ed25519.pub.
Don't overcommit the host
The RAM of all running VMs plus the host itself must fit into physical memory. Otherwise the host swaps and every VM becomes slow.
Distribution differences
| Debian | Ubuntu | RHEL | Arch | |
|---|---|---|---|---|
| Package | virtinst |
virtinst |
virt-install |
virt-install |
Related commands
virsh · virt-clone · qemu-img · ssh